Welcome to our comprehensive guide on the art of laying tiles, where precision meets creativity! Whether you’re a seasoned DIY enthusiast or a novice looking to embark on a home improvement project, our step-by-step guide is designed to demystify the intricate process of tile installation. From selecting the perfect tiles to mastering the essential techniques, we’ll walk you through each stage, providing expert tips and insights to ensure a flawless finish.
1. PREPARE THE SURFACE TO BE TILED
Ensure the surface to be tiled is clean, dry & free of any surface contaminants. If the surfaces are smooth & dense prime the surface with a slurry coat comprising of 1 part Tile Key mixed with 2 parts Cement – OPC 42.5mPa. Allow the slurry to dry before continuing.
2. MIXING THE TILE ADHESIVE
Add the 20kg tile adhesive to the specified amount of clean water and mix into a smooth creamy paste. If tiling in wet & damp conditions replace the water in the mix with Tile Bond. Allow to stand for 5 minutes and stir again before use.
3. APPLYING THE TILE ADHESIVE
Apply the adhesive onto the substrate using a wall or floor notch trowel. Always apply a quantity of tile adhesive that can be used in 10-15 minutes. If the tile adhesive is exposed for period longer than 15 minutes skimming on the surface of the tile adhesive will occur. This skimming will adversely affect the adhesive of the tile adhesive to the tile.
4. BEDDING OF THE TILES
When laying tiles always lay the tile with a twisting action to ensure maximum tile adhesive contact. Tap the tile into the tile adhesive bed using a rubber mallet. Clean out the excess tile adhesive from the grout joints & allow the tile adhesive to dry.
5. BEDDING OF THE TILES
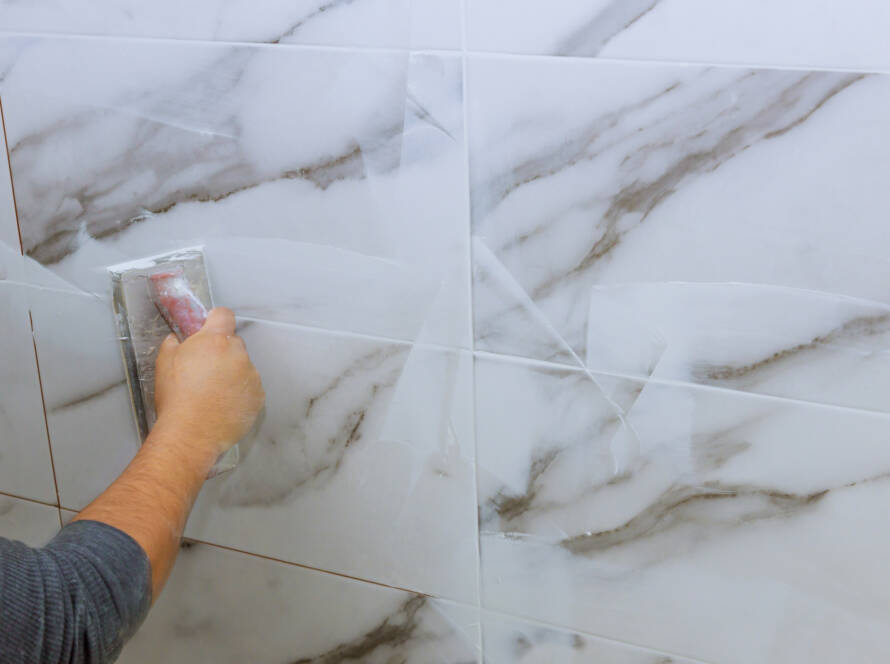
Allow the tile adhesive to dry before grouting the tile joints. Use Wall & Floor Grout to grout the joints.