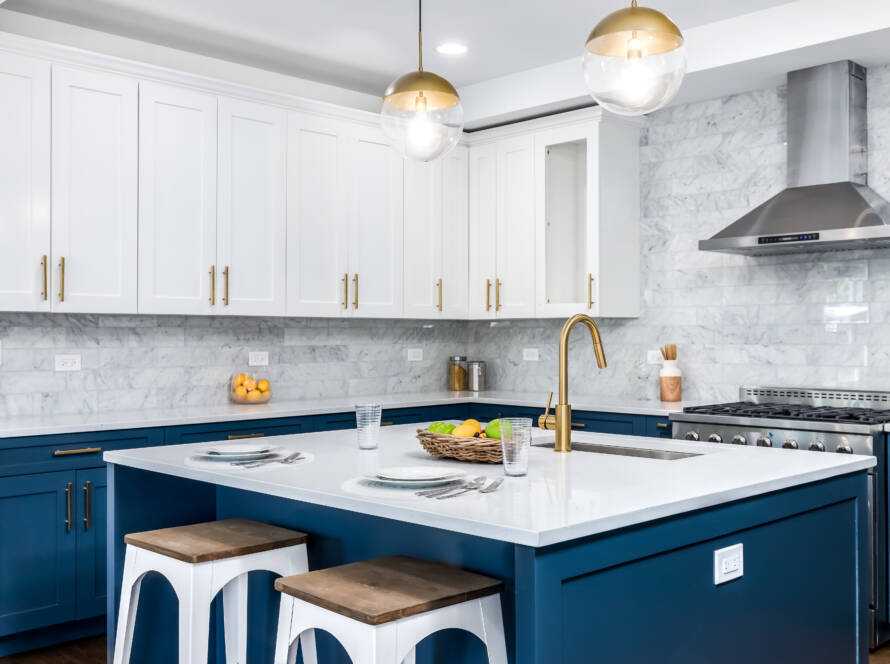
Embarking on a DIY tiling project? Unleash your creativity and transform your space with our comprehensive guide to the art of DIY tiling. In this blog post, we’ll walk you through the step-by-step process, from selecting the right tiles to mastering the perfect adhesive application. Whether you’re a novice or seasoned DIY enthusiast, our insights, tips, and tricks will empower you to tackle your tiling project with confidence. Let’s dive into the world of DIY tiling and discover how to turn your vision into a stunning reality, one tile at a time.
1. PREPARE THE TILE PANELS TO BE GROUTED
Ensure the tile surface is clean & dry. Clean out the tile grout joints of excess tile adhesive and ensure the joints are well dusted.
2. MIXING THE TILE GROUT
Add the 5/20kg tile grout to the specified amount of clean water and mix into a smooth creamy paste. If grouting in wet & damp conditions replace the water in the mix with Tile Bond. Allow to stand for 5 minutes and stir again before use.
3. APPLYING THE TILE GROUT
Apply the tile grout into the tile joints using a grouting squeegee, ensuring the joints are filled level to the tile surface. Clean off all excess tile grout off the surface of the tile using a dense sponge rinsing the sponge frequently. Allow the grout to harden for approximately 4 hours.
4. POLISHING THE TILES
Allow the tile grout to dry for 24 hours and polish the tiles with a clean dry cloth. Do not use a damp cloth.